Using OpenOffice Impress
A couple of notes about tutorial notation -
Starting the program
At the OpenOffice (OO) starting menu, start OO Impress by clicking the "Presentation" button.

The "Presentation Wizard" is initiated.
Page 1 - asks about the "Type" of process you want to follow to create the presentation design.
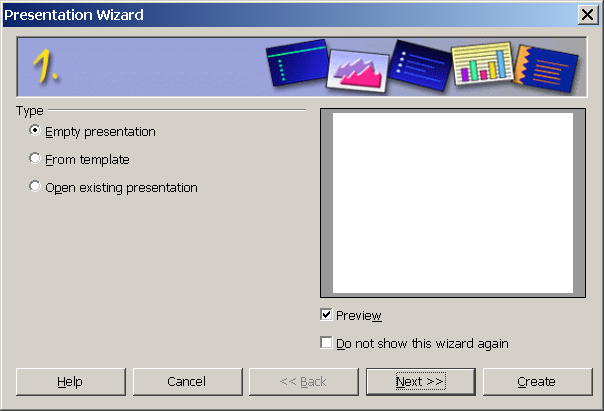
In this exercise the focus will be on the development from an "Empty Presentation". All of the formatting will be created during this project.
Before proceeding - a little explanation is needed about some of the command buttons - specifically "Next>>" and "Create".
Check Empty Presentation, if it is not already checked, and click on "Next>>".
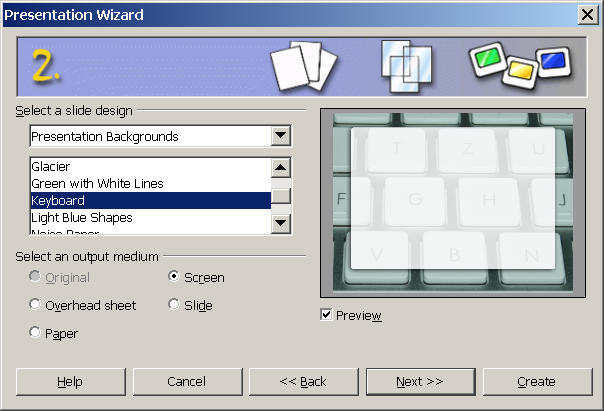
Page 2 - has two areas of note:
Click on "Next>>".
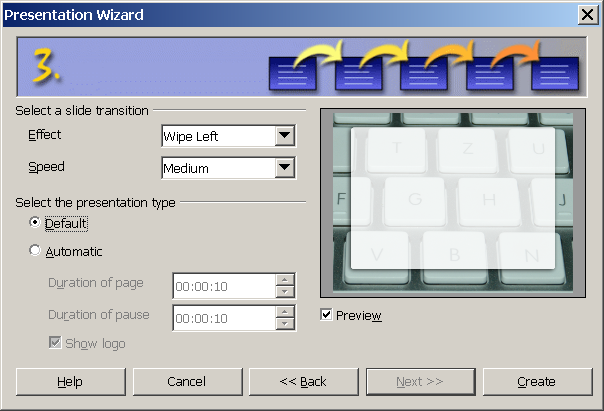
Page 3 - Allows the selection of slide transitions and the timing of both the duration of the screen appearance and the time of the transition (time between screens).
The important selection possibilities here are -
Please make sure that No Effect and "Default" presentation type are checked.
Now the basic presentation formatting is complete. Press "Create" to continue to the edit environment where each screen will be developed. After pressing "Create" the following screen should be seen.
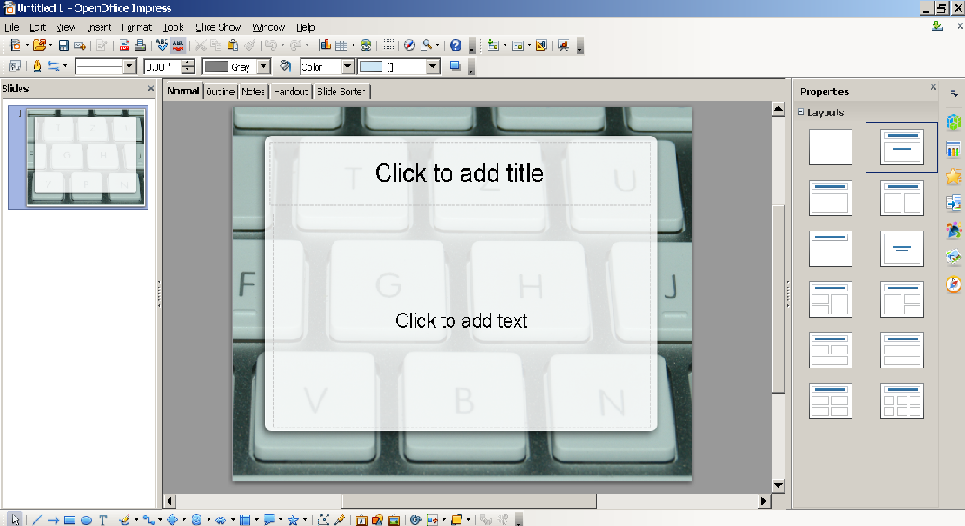
The next graphic is essentially the same as the one above but it identifies some of the edit screen features. There is a striking similarity between this screen and the OO Writer screen. Editing capabilities are very close.
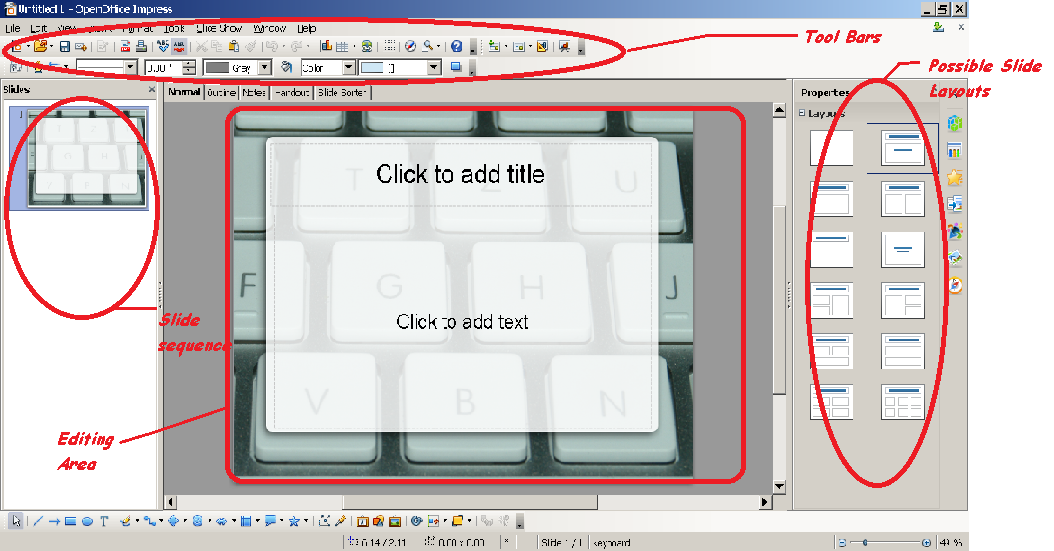
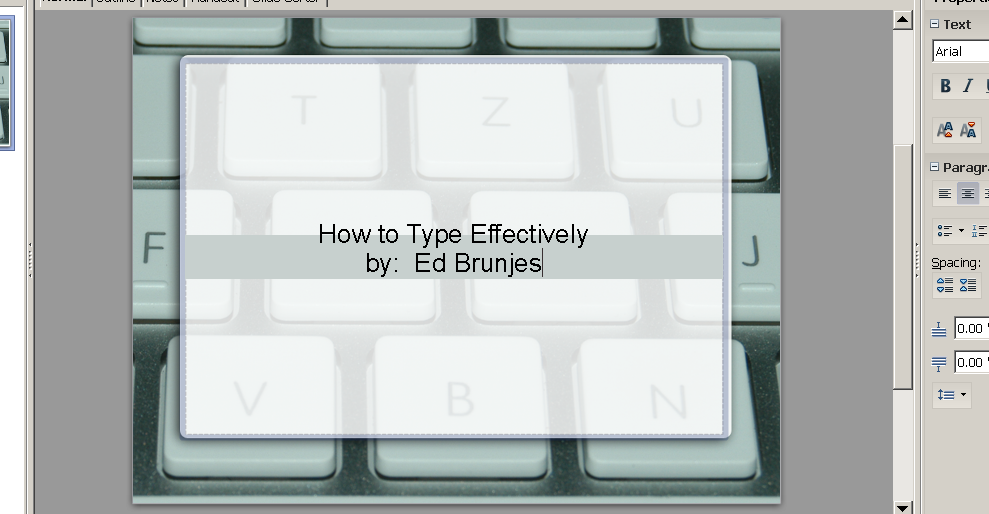
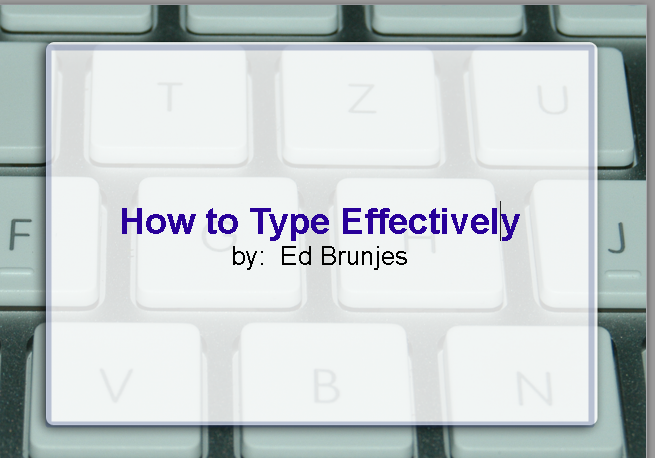
Notice the layout options to the right of the main portion of the edit screen. Click on several of the available options and note the results. Many of the layout options have multiple sections or "boxes". Often there is an area for the slide title and some presentation content. The first slide of a presentation typically only contains the presentation tile and the author. Click on on the layout option in the second column from the left and the third one down (Centered text). Click on "Click to add text" and type in "How to Type Effectively", press <ENTER>, and "by: " with your name. Your result should look similar to the figure below.
Once typing starts the "Layouts" on the right side of the screen should be replaced by text "Properties" (text formatting options). This is a duplication of the options if the "Format" option is clicked on the Menu bar (at the top of the screen). Formatting text is done the same in OO Impress as in OO Writer.
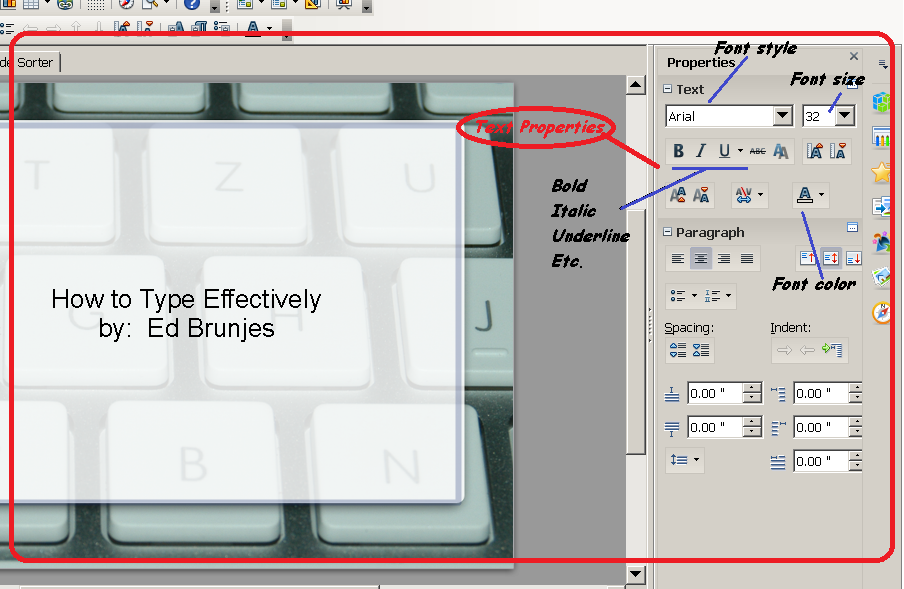
Block and bold "How to Type Effectively"; change the font color to dark blue (blue 1) or similar color. Once again block the same text (if necessary) and change the size to 44. Your results should look something like the figure below. This will be the intro or title slide.
Now to add a second slide. Click on the "Slide" icon on the tool bar, just below the Menu bar.

The layout of the second slide should be a bit different because it will be the first content slide. It will generally include a title and one or more content boxes. From the layouts, click on the second layout from the top in the first (left) column (Title, content). A title needs to be added; click in the top box and type "Posture". Block "Posture" and change the size to 40; change the text color to the same blue used in the first slide; finally bold the text.
In the lower box text will be entered so click on Click to add text (a table, video, graphic or chart could have been inserted as well).
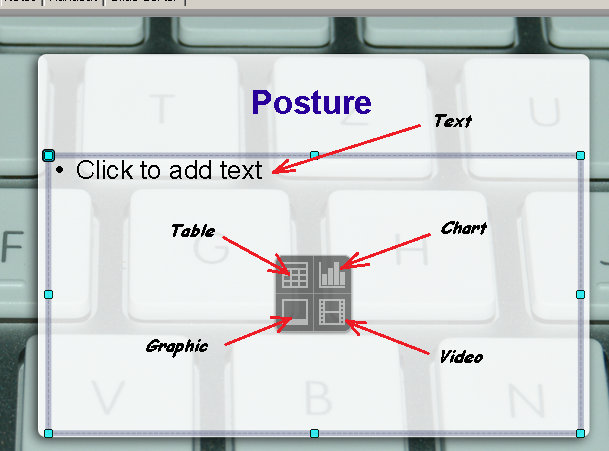
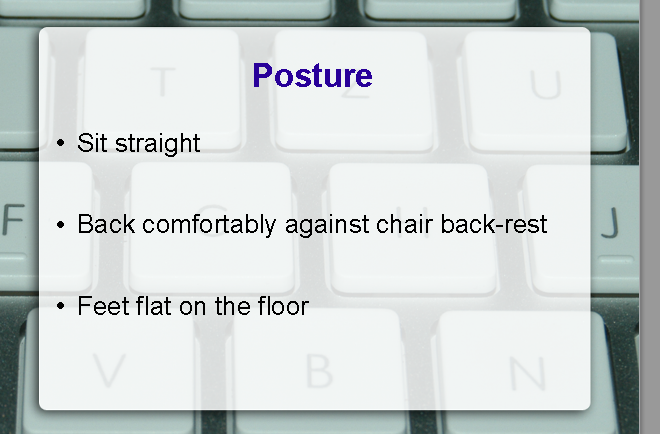
Notice the bullet is automatically inserted by the program. Type "Sit straight" and press <ENTER>; type "Back comfortably against chair back rest" and <ENTER>; and "Feet flat on the floor" and <ENTER>. An extra bullet appears on the last line. To remove the extra bullet tap <BACK SPACE>.
Now a blank line should be inserted between first and second line. Locate the cursor at the right end of the first line (after straight) and <ENTER>. Once again tap <BACK SPACE>. Put a blank line between the second and third lines. The slide should look something like the figure below.
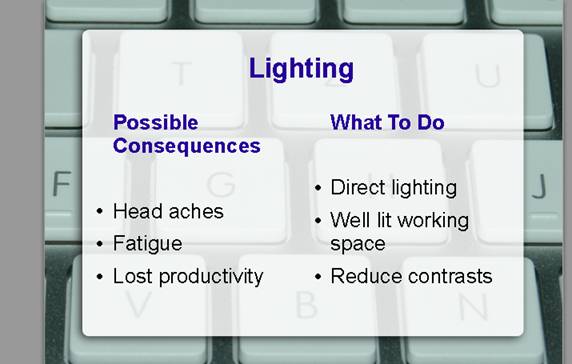
Now a third slide will be added. Click on the "Slide" icon. Select the second layout in the second column (Title and two content boxes). Click on the title box and type "Lighting". Block "Lighting"; change the size to 40, color to blue, and bold. In the left content box type, "Possible Consequences" remove the bullet, then a blank line and remove the bullet. On separate lines "Head aches", "Fatigue", and "Loss of productivity". In the right content box type "What To Do" and <ENTER>, then a blank line, and on separate lines "Direct lighting", "Well lit work space, and "Reduce contrasts".
On the first line in each box change the text color to the same color used in slides 1 and 2, and bold. The slide should look something like the figure below.
Look at the tabs just above the central edit area of the screen. Note that there are five tabs - Normal (the default view), Outline, Notes, Handout, and Slide Sorter.
Normal - should be currently selected; it is the view typically used to develop and edit slides,
Outline - presents the project in outline format. It is a way to focus on slide content without the formatting,
Notes - allows notations to be made for each slide,
Handout - allows the preparation of handouts for the audience with areas for note taking,
Slide Sorter - facilitates the arranging of slide sequences.

At this point a fourth slide is to be prepared for the presentation. The slide will include a title, graphic and text. However it will be necessary to control the placement and size of the graphic because the graphic is not designed to fit into the content boxes.
Make sure slide 3 has been selected. The fourth slide will be inserted after the selected slide. Click on the "Slide" button on the tool bar and select the first layout in column 2 (Title slide). In the title box type, "Remove Office Distractions". Block the title text then bold, change font size to 40, and change the color to blue.
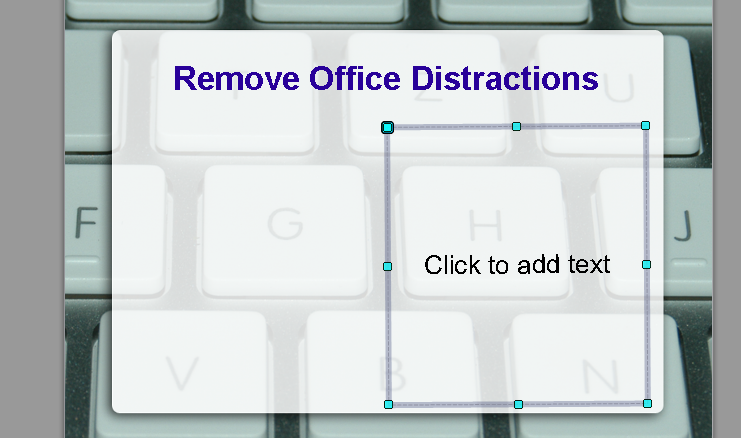
Now click on, Click to add text in the content box. Notice that the blue box outline appears. Click anywhere on the outline and note the orange box 'handles'. These are for orienting the box (rotating it etc.). Click the box outline a second time. The handles should turn a light blue. Move the cursor over the center handle on the left margin. The cursor changes into a 2-headed arrow. This will all the repositioning the left margin of the box. Hold down the left mouse button and move the left margin to about the center of the edit area. The empty space will be the location of the graphic. The screen should look something like the graphic below.
Although there is no set sequence for filling in the body of the slide. The graphic will be copied first -

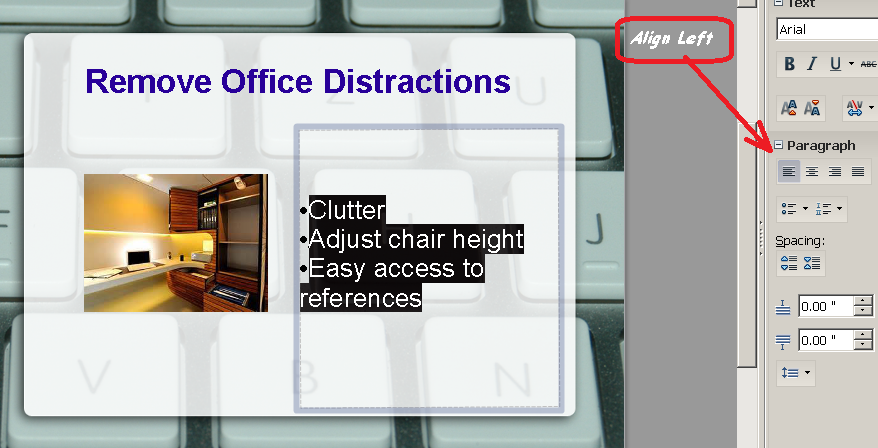
Click on Click to add text. On separate lines type 'Clutter', Adjust height of chair', 'Access to references'. Block all of the completed text in the content box and click on "Align Left". Finally insert bullets (below the "Align Left" icon).
The finished slide should look like the graphic below.
Now to "Run" or execute your presentation click on the "Slide show" icon -> 
Save this presentation as 'Impress_Proj1_yourLastName'. This will be the first attachment of your submission package.